
Description
Features & Benefits
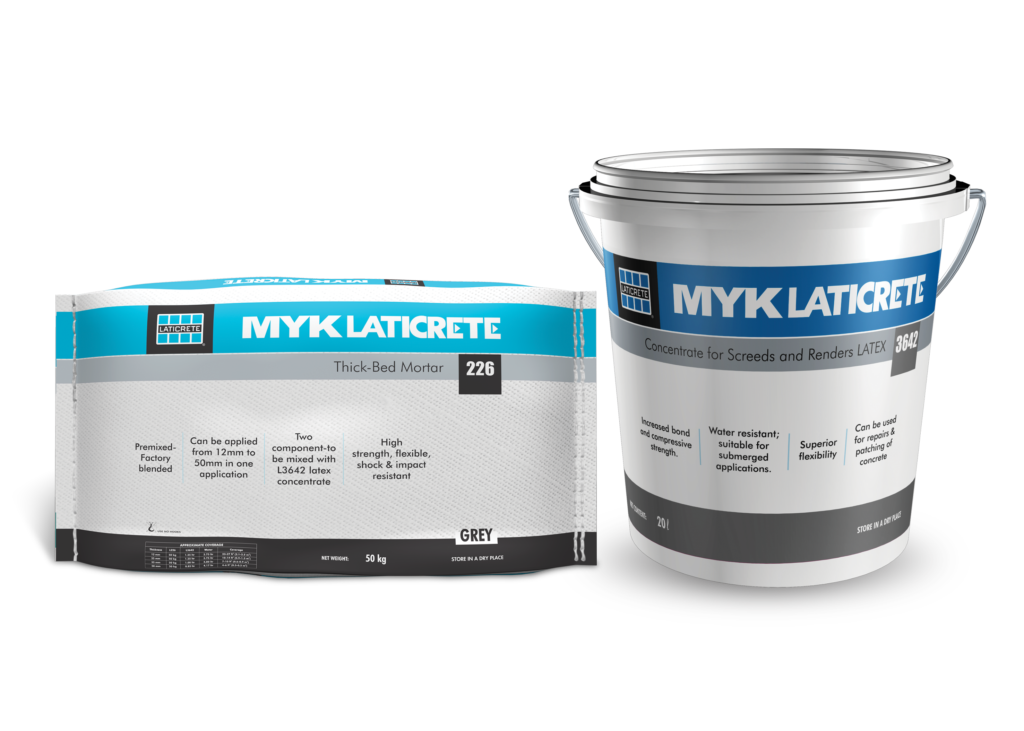
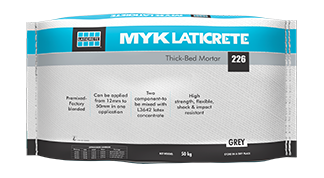
LATICRETE® 226 THICK BED MORTAR
Advantages
- Premixed factory blended
- Can be applied from 12mm to 50 mm in one application
- Two component to be mixed with L3642 latex concentrate
- High strength, flexible, shock and impact resistant
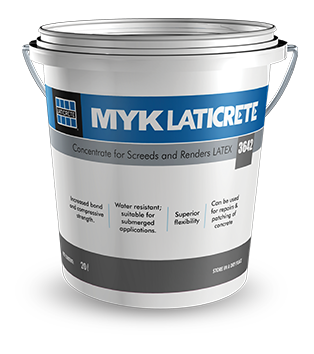
LATICRETE® 3642 LATEX CONCENTRATE FOR THICK BED MORTAR
Advantages
- Increased bond and compressive strength
- Water resistant, suitable for submerged applications.
- Superior flexibility
- Can be used for repairs & patching of concrete
Product Details

- EN 13813, as CT-C20 F6 B2 SH60

- Not Mentioned
How to apply
- Step 1:If a plaster/leveling mortar bed is applied, ensure that it is cured for at least 7 days to achieve proper strength before application of tile adhesive for installation of tiles
- Step 2:Ensure the substrate is clean and free from impurities like dust, dirt, debris, oil, grease, curing agents, loose plaster etc.
- Step 3:Dampen the surface before application of thin set adhesive
- Step 4:Clean the back of stone for any dust or coating
Substrate: All surfaces should be structurally sound, clean and free of all dirt, oil, grease, curing compounds etc. Dry, dusty concrete surface or masonry should be dampened and excess water swept off. Installation may be made on a damp surface. If the concrete or masonry surface is very old, apply a slurry bond coat of LATICRETE® 111, filler powder mixed with LATICRETE® 3642 diluted with water in the ratio of 1:3, prior to installation of mortar bed. Priming: Priming of the surface can be done by mixing LATICRETE® 111 powder with LATICRETE® 3642 diluted with water in the ratio of 1:3. When the slurry bond coat is tacky, mix and apply the thick bed adhesive. Application:
- Mix LATICRETE® 3642 concentrated liquid admix with potable water in the desired ratio ie 1:4 in a clean container.
- Add LATICRETE® 226 powder to the diluted LATICRETE® 3642 directly.
- Add the powder mix to the liquid and mix slowly, adjust the mix to a semi dry consistency.
- Place the mortar while the slurry bond coat is still wet and tacky.
- Compact the surface of the mortar with flat trowel and ensure all voids are filled.
- Level the mortar true and plumb to carry on with installation of tiles using the slurry bond coat. Place the tiles in the wet slurry bond coat and embed into the adhesive using a rubber mallet maintaining the finish levels. Use spacers as required between the tiles.
- Wait 12-24 hours for the mortar to set and cure before starting the grouting work.
Areas of Application: Interior & exterior floor & walls Suitable Substrates:
- Concrete
- Cement Mortar Beds


Reviews
There are no reviews yet.